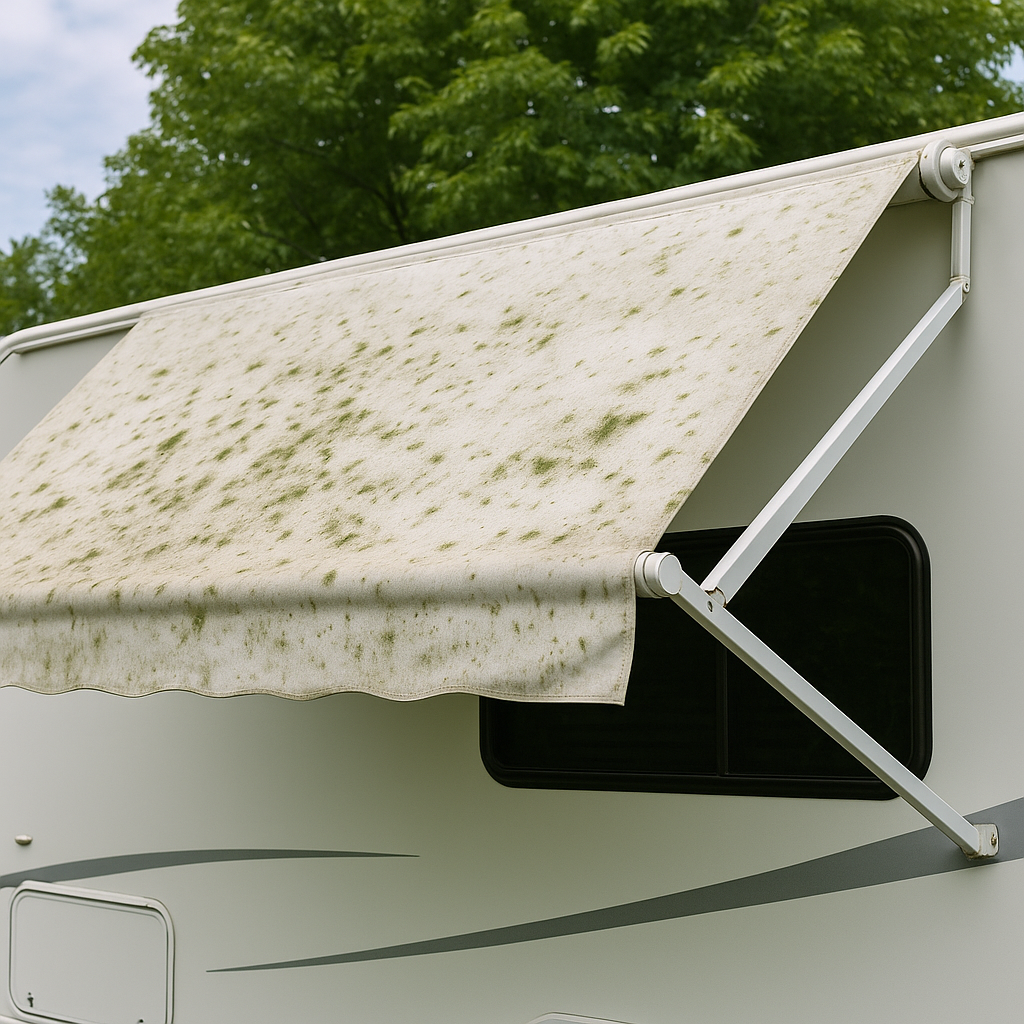
Moist nights, tree shade, and rolling your awning up while it’s still damp are the perfect recipe for mold and mildew. Left alone, that grossness can stain the fabric, weaken seams, cause a musty odor inside the rig, and add drag on power mechanisms if it is bad. This guide shows you how to clean RV awning mold safely, what to use (and avoid), how long to let it dry, when to clean, and how to keep mold from coming back.
Why Mold & Mildew Are a Big Deal (If You Ignore Them)
- Permanent staining & odors. Mildew etches into vinyl and acrylic, leaving yellow/gray shadows.
- Shorter awning life. Growth + harsh sunlight can embrittle fabric and degrade thread at seams.
- Mechanical strain. Added moisture + grime can make rolling slower or uneven on power awnings.
- Air quality. Spores can get tracked into your RV and irritate sensitive campers.
Know Your Fabric (It Matters for Cleaner Choice)
- Vinyl (PVC) awnings: Smooth, slightly shiny, waterproof. Can handle light bleach when diluted correctly and rinsed thoroughly.
- Acrylic (woven) awnings: Breathable fabric with visible weave. Avoid chlorine bleach; it can fade dyes and weaken fibers. Use oxygen bleach and fabric-safe cleaners instead.
If you’re unsure, check your owner’s manual or look up the awning model on the hardware label before using chemicals.
What You’ll Need (And What to Avoid)
Tools
- Soft-bristle brush on a telescoping pole (no wire bristles)
- Microfiber cloths or soft sponge
- Garden sprayer or spray bottle (for even application)
- Standard hose with gentle spray (skip pressure washers up close)
- Ladder (if needed) + a spotter, nitrile gloves, and eye protection
Cleaners that are generally safe (choose by fabric)
- Mild dish soap + water (universal)
- Oxygen bleach (sodium percarbonate) for acrylic/colored fabrics; follow label directions
- Vinyl/marine/RV awning cleaners labeled mold & mildew safe
- White vinegar solution (50/50 with water) as a pre-treat for light mildew on vinyl or hardware
Cleaners to avoid (and why)
- Straight chlorine bleach on acrylic (fading/weakening fibers)
- Undiluted or overly strong bleach on vinyl (premature aging, seam/thread damage)
- Solvents (acetone, lacquer thinner, mineral spirits), petroleum distillates, and citrus degreasers (can strip coatings and soften adhesives)
- Abrasives (powders, scouring pads, melamine “magic” erasers) that thin protective coatings
- High-pressure washers at close range (can lift coatings and force water into seams)
**Never mix bleach with ammonia, vinegar, or other cleaners. Toxic gas can form. Mix fresh solutions outdoors and label your sprayer.
Is Bleach, OK? The Correct Ratios and When to Use Them
Bleach belongs in the toolkit only for vinyl awnings with moderate to heavy mildew, and only when diluted and rinsed thoroughly.
- Light–moderate mildew on vinyl: Mix ¼–½ cup regular household bleach (5–6% sodium hypochlorite) per 1 gallon of water, plus a slight squeeze of dish soap to help wetting.
- Stubborn stains on vinyl: Up to 1 cup bleach per 1 gallon water for a short 3–5 minute dwell, then scrub gently and rinse thoroughly.
- Acrylic or colored fabrics: Skip chlorine bleach. Use oxygen bleach (a typical mix is ½ to 1 cup per gallon of warm water—follow the instructions on the product label).
**Patch-test any cleaner on a hidden corner first. If color transfers to your cloth or the surface dulls, stop.
When to Clean (Timing & Frequency)
- Best time of day: Sunny, low-wind morning so it can dry thoroughly by afternoon.
- Seasonal cadence:
- Start of season: Deep clean + protectant.
- Mid-season: Quick soap wash after humid trips or if you see spots.
- End of season: Deep clean and dry 100% before storage.
- After rain or dew: Unroll to air-dry whenever the sun comes out; don’t store it wet.
Drying: How Long Before Rolling Up?
Let the awning dry completely, with no cool/damp patches to the touch. In the sun with a breeze, plan on 60–90 minutes; in humidity or shade, allow 2–4 hours. If time’s tight, unroll later that day to finish air-drying. Rolling up damp invites the very mildew you just removed.
Step-by-Step: How to Clean RV Awning Mold
- Open and inspect. Fully extend the awning. Note heavy clusters (often near the roller tube and seams).
- Protect surroundings. Move chairs/rugs. If using bleach on vinyl, wet nearby plants first and cover sensitive painted surfaces.
- Pre-rinse. Hose off any loose dirt so the cleaner can effectively contact the stains.
- Mix your solution.
- Vinyl: mild dish soap solution; for mildew, use the bleach ratio above.
- Acrylic/colored: oxygen bleach per label in warm water.
- Apply generously. Use a garden sprayer for even coverage, working in sections 3–4 feet long.
- Let it dwell. 3–5 minutes for soap/oxygen bleach; no more than 5 minutes for chlorine bleach on vinyl. Keep the surface wet—don’t let the cleaner dry on the fabric.
- Gentle agitation. Use a soft-bristle brush with light pressure in overlapping strokes. Focus on seams and the first foot next to the roller.
- Rinse thoroughly. Flush until runoff is clear and slick-free. A cleaner left behind becomes a new dirt magnet.
- Repeat only as needed. Two light passes beat one harsh pass. Persistent gray “ghost” stains on vinyl may require a second application or a dedicated, vinyl-safe mildew stain remover.
- Sanitize (optional, vinyl only). If you skipped chlorine earlier, a brief ¼ cup bleach/gallon pass can help, followed by a thorough rinse.
- Dry thoroughly. Leave the awning open to the sun/breeze until it is 100% dry (see times above).
- Protect. Apply a UV protectant designed for vinyl or a fabric guard for acrylic (follow product directions). This extends the time between cleaning and makes the next wash easier.
Heavy Growth vs. Small Patches: Does the Method Change?
- Small patches/light mildew: Spot-treat with vinegar or oxygen bleach (acrylic) or a mild bleach solution (vinyl), dwell briefly, light brush, rinse, and dry.
- Widespread/heavy growth: Work in sections. On vinyl, step up to the more substantial bleach dilution (up to 1 cup/gallon), but shorten the dwell to 3–5 minutes and rinse thoroughly. On acrylic, stick to oxygen bleach; repeat rather than scrubbing hard.
For power awnings, avoid soaking the motor area. Keep water flow moderate around end caps and arms.
Maintenance, So You Won’t Need to Keep Googling How to Clean RV Awning Mold
- Air it out. After rain or morning dew, unroll when the sun hits your campsite.
- Monthly quick wash in peak season with soap/water keeps spores from anchoring.
- Tree-sap patrol. Sap + shade = mildew. Relocate if possible or wipe sap promptly.
- Use protectants (vinyl UV protectant or acrylic fabric guard) every 3–6 months.
- Store bone-dry. Before long drives or seasonal storage, confirm it’s scorched.
- Checklist habit. Add “Awning: unroll to dry” to your travel-day list.
Quick Answers Campers Ask
- Can I roll it up wet after cleaning? Try not to. If you must, unroll the same day to finish drying.
- Will bleach ruin my awning? Used correctly on vinyl, it’s effective. Over-strong mixes, long dwell times, or use on acrylic can damage color and fibers.
- What about pressure washers? Keep your distance; high pressure can lift coatings and force water under seams. A garden hose is safer.
- What’s the fastest way to remember how to clean RV awning mold? Keep a card with your chosen cleaner ratios and this 12-step sequence in your RV toolkit.
SAFETY RECAP
Wear gloves/eye protection, work outdoors, never mix chemicals, patch-test first, and ALWAYS follow the care instructions provided by your awning/fabric maker.