Power System Running Smoothly
When you roll into a campsite, flip a switch, and the lights turn on, it feels simple, and we often take our battery system for granted. But behind the scenes, your RV battery is quietly doing heavy lifting. Whether you’re plugged into shore power or boondocking for the weekend, your battery system is the backbone that keeps everything from lights to water pumps running.
Unfortunately, batteries are often overlooked until something goes wrong—like a fridge that won’t cool or a slide that won’t budge. A little knowledge and routine care can prevent most of these headaches. In this guide, we’ll break down the basics of RV battery care, simple troubleshooting steps, and what you can do to extend the life of your battery.
Understanding RV Batteries
Before starting any RV battery maintenance, it’s useful to identify the type of battery you have. RVs usually use one of these types:
- Lead-Acid (Flooded) Batteries: The most common and generally the most affordable. They need periodic topping off with distilled water.
- AGM (Absorbed Glass Mat) Batteries: A sealed lead-acid type that is maintenance-free and better at handling vibration.
- Lithium (LiFePO4) Batteries: Lightweight, durable, and quick to charge, but more costly.
Why RV Battery Care Matters
Ignoring your RV battery isn’t just problematic; it can be costly. A poorly maintained battery may only last a year or two, while a properly cared-for battery can last five years or more. Poor charging habits, corrosion, and neglect lead to:
- Shortened battery life
- Diminished performance due to low voltage or weak power supply
- Unexpected failures during camping
By practicing appropriate RV battery care, you’ll save money, prevent frustration, and ensure your adventures run smoothly.
Step 1: Keep Your Battery Charged Properly
The single most important habit in RV battery care is proper charging.
- Avoid deep discharges. Try to keep lead-acid batteries above 50% charge whenever possible.
- Check your converter/charger. Make sure your RV’s converter is designed to maintain batteries with a multi-stage charging process. If not, consider upgrading to a smart charger.
- Use a battery monitor. A simple monitor or voltmeter provides an accurate representation of charge levels.
Step 2: Inspect and Clean Connections
Dirty or loose battery terminals can mimic a “dead battery.” Regular inspection is part of good RV battery care.
- Check for corrosion: Look for white, green, or blue powder on the terminals.
- Clean if needed: Disconnect the battery, scrub terminals with a wire brush, and use a baking soda/water mixture if buildup is heavy.
- Protect against future corrosion: Apply dielectric grease or a corrosion-prevention spray.
Step 3: Water Levels in Flooded Batteries
If you have lead-acid flooded batteries, checking water levels is a non-negotiable part of maintaining your RV’s battery.
- How to top off: Use distilled water only, never tap water. A battery watering system can make this step easier if you want to minimize the mess.
Step 4: Watch for Warning Signs
Even with good RV battery care, problems can still happen.
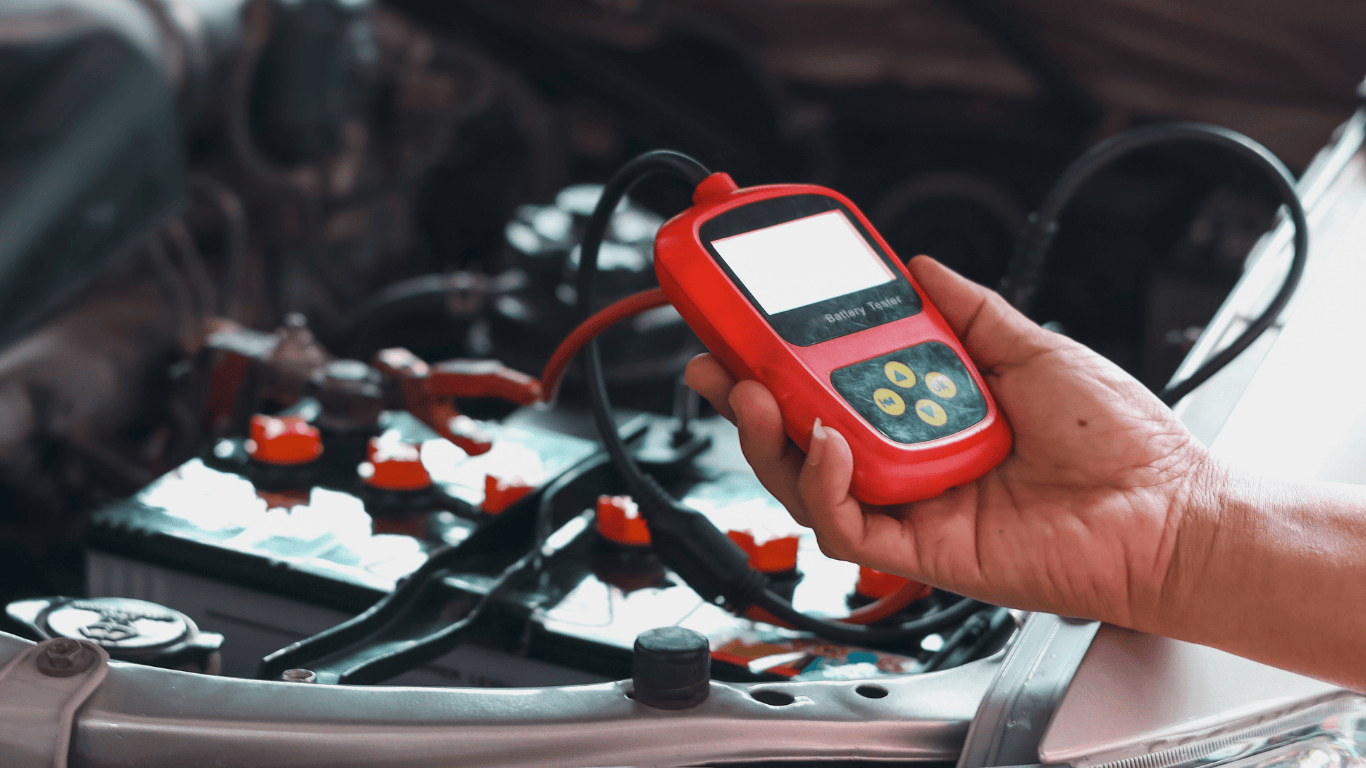
- Unusual smells: A sulfur or rotten-egg smell may indicate overcharging or internal damage. A good battery tester/load tester can confirm if it’s time for replacement.
- Swollen case: Overcharging or extreme heat can cause the case to bulge.
Simple Troubleshooting for RV Batteries
Sometimes it’s not the battery but the charging system or wiring.
- Test the battery: Use a digital voltmeter. Anything below 12.2 volts for a lead-acid battery means it’s time to recharge.
- Look at fuses and breakers: Carrying a pack of RV fuses is a smart backup. You don’t need an extensive number of fuses. Just a basic pack of RV fuses like this one is all you need. Keep it simple.
- Portable power backup: Many RVers carry a portable jump starter/power bank for emergencies.
Extending Battery Life
Good RV battery care isn’t just about avoiding problems—it’s about maximizing lifespan.
- Avoid overcharging: Smart chargers prevent this.
- Recharge promptly: Don’t let batteries sit discharged for days.
- Equalize occasionally: Flooded batteries benefit from an equalizing charge—some chargers do this automatically.
Seasonal Use and Light Storage Tips
If your RV is parked for more than a couple of weeks, a little attention to the batteries goes a long way:
Keep batteries topped off with a trickle charger/maintainer to ensure a healthy charge. If you don’t have access to shore power, a solar trickle charger is a great alternative for keeping your batteries fully charged and ready to go.
Disconnect with an RV battery disconnect switch to prevent phantom drains from onboard electronics.
Final Thoughts
Taking care of your RV battery is simple. Spending a few minutes inspecting, charging, and cleaning can prevent costly issues and frustration later. If you consider your RV battery as the core of your power system, it will lead to more dependable trips and stress-free camping experiences.
Comments
One response to “RV Battery Care Basics: Maintenance Made Easy”
[…] Batteries don’t fare well when left sitting for months in cold weather. Allowing them to discharge completely shortens their lifespan. For more information on keeping your batteries healthy throughout the year, check out our guide on RV battery care. […]