If you’ve never looked at your RV roof, you’re not alone. Many RV owners don’t realize that their RV needs regular inspections until a leak appears inside. By then, it’s often a costly fix. The roof is the first line of defense against water damage, so learning how to inspect it is one of the most valuable habits you can develop.
This guide explains when to inspect, how to inspect, what to look for, and what to do if you find something wrong. Even if you’ve never climbed up before, you’ll know exactly what’s safe to handle yourself and what’s best left to a repair shop.
How Often Should You Inspect Your RV Roof?
- Every 3 months (quarterly). This is the schedule most RV manufacturers recommend.
- After major weather. Intense storms, hail, or heavy winds can loosen sealants or cause damage to the sealant.
- Before and after long trips. A quick check keeps surprises away while traveling.
👉 Tip: Think of your roof like your car tires — if you check it often, you’ll avoid most problems.
Safety First: Getting to Know Your RV Roof
Not every RV roof is safe to walk on.
- Walkable roofs (common on many Class A and Class C motorhomes, and some fifth wheels) are built to hold your weight.
- Non-walkable roofs (common on lighter trailers) are not designed for foot traffic. For these, you’ll do your inspection from a ladder, using your phone camera or binoculars to zoom in.
Simple rules for roof safety:
- Only go up if your manual says it’s safe.
- Wear rubber-soled shoes with a good grip.
- Never go up when it’s wet or icy.
- Move slowly, crawl instead of walking, and stay near the center.
- Use plywood to spread the weight if you’re unsure.
Know Your Roof Type (they’re not all the same!)
RV roofs are made of different materials. Knowing yours helps you choose the right cleaner and sealant.
- EPDM rubber: Black underlayer, often with a white top. May leave a chalky white residue when rubbed — that’s normal aging.
- TPO (thermoplastic): Bright white and shiny, more rigid than EPDM. Doesn’t chalk as much.
- PVC (vinyl-type): Marketed as very tough, tear-resistant, and “low maintenance.”
- Fiberglass: Hard, shiny surface (like a boat hull). Usually found on front/rear caps, or on full roofs of some RVs.
- Aluminum (like Airstreams): Shiny or coated metal panels with riveted seams.
👉 Not sure what type of roof you have? Check your owner’s manual or call the manufacturer.
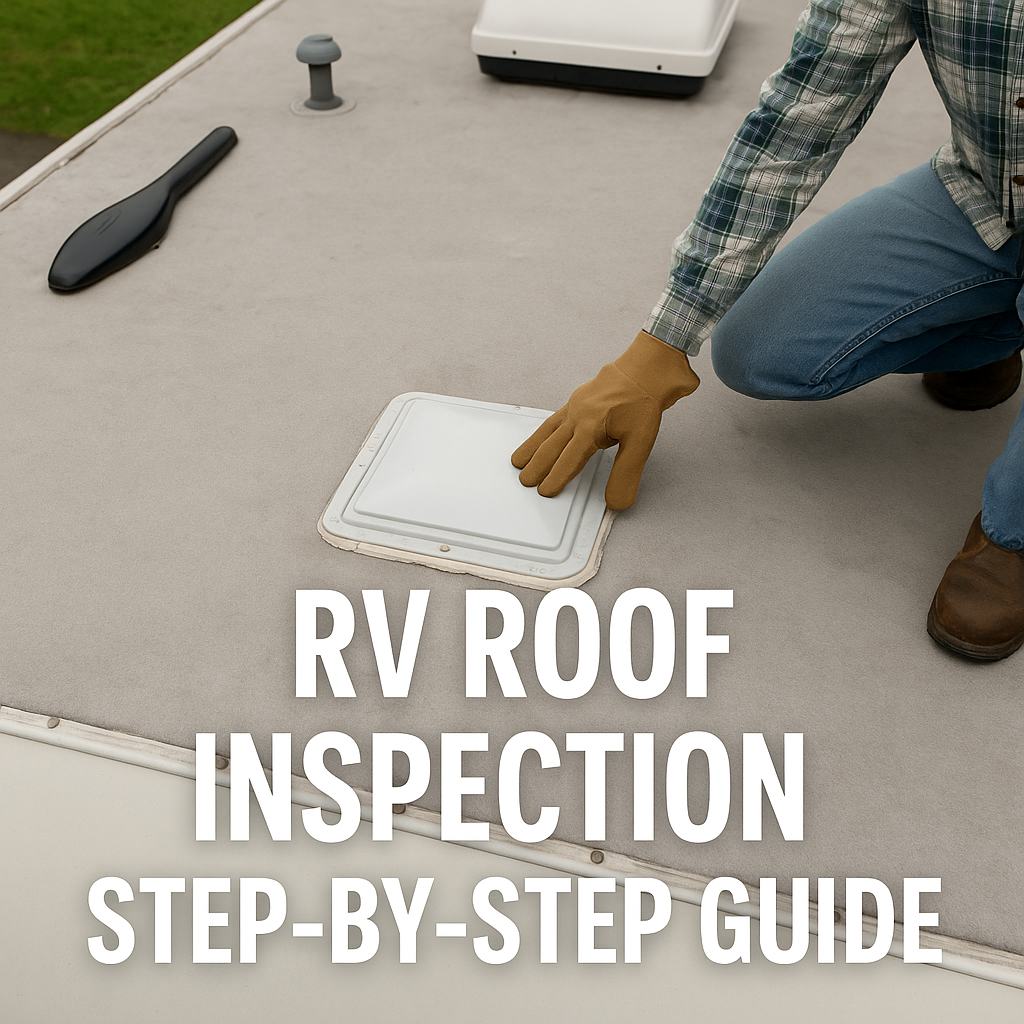
Step-by-Step Roof Inspection
1. Start at the edges
Look where the roof meets the sidewalls.
- What to look for: cracked or missing sealant, gaps where trim has pulled away, or loose screws.
- Why it matters: edges are common leak points if water sneaks behind the molding.
- Fix: clean the area and reseal with a non-sag sealant (designed for vertical surfaces).
2. Check the front and rear caps
These are the curved fiberglass sections at the front and back.
- Look for:
- Open seams where the roof membrane meets the cap.
- Old, hardened sealant.
- Crazing — tiny spider-web cracks in the shiny fiberglass surface.
👉 Crazing explained: This is cosmetic damage to the gelcoat (the shiny top layer of fiberglass). It appears to be hairline cracks, but they usually don’t go all the way through. Light crazing doesn’t leak, but it should be monitored. Deep cracks or soft spots need professional repair.
- Fix: reseal small gaps; monitor light crazing; see a shop for deeper cracks.
3. Inspect roof penetrations (anything sticking up)
This includes vents, skylights, antenna bases, plumbing pipes, solar panel mounts, and ladder brackets.
- What to look for:
- Sealant that’s cracked, dried, or pulling away.
- Voids (tiny holes or gaps) in the caulk.
- Loose or wiggly parts.
👉 Lap sealant explained: This is the flexible, self-leveling sealant used around roof fixtures. It remains soft, allowing it to expand and contract as the roof flexes.
- Fix: remove loose bits, clean with alcohol, and reapply self-leveling sealant (for flat horizontal surfaces). Use non-sag for vertical parts.
4. Look at the roof surface
Scan the membrane itself (rubber, TPO, or PVC).
- What to look for:
- Punctures or tears (from branches or debris).
- Scuffs from walking or dragging equipment.
- Ponding water (water that sits instead of draining).
👉 Ponding explained: Some dips in the roof can collect water. If it evaporates quickly, it’s not a huge concern. If it lingers, it puts pressure on the seams and should be closely monitored.
- Fix: small holes can be patched with special RV repair tape. Large tears or sagging areas should go to a shop.
5. A/C units and skylights
- Inspect the plastic shrouds covering air conditioners for cracks or loose screws.
- Look for crazing or yellowing on skylights.
- Inside the RV, check around the A/C unit for water stains — a sign the gasket might be compressed.
👉 Gaskets are foam seals under the A/C unit. Replacing them is a shop job because torque and alignment matter.
6. Accessories and mounts
- Roof racks, solar mounts, and ladders can loosen over time.
- Tighten screws gently and reseal around the bases.
Cleaning the Roof (keep it gentle)
- Use a mild, non-abrasive cleaner and a soft brush.
- Rinse the roof and sidewalls well to avoid streaks.
- Never use pressure washers. They can force water under seams.
- For EPDM rubber, avoid cleaners containing petroleum or citrus — they can damage the rubber.
- For PVC: No treatment is required; simply use soap and water.
Common Finds and Fixes
1. Dried or cracked sealant
- DIY: Reseal with the correct lap sealant.
- Shop: If the seam itself has lifted or the substrate feels soft.
2. Small punctures/tears
- DIY: Patch with RV repair tape.
- Shop: Large or irregular damage.
3. Vent lid damage
- DIY: Replacing a vent lid is a simple task.
- Shop: Replacing an Entire Skylight Base.
4. A/C gasket issues
- DIY: Not recommended.
- Shop: Let a pro replace and torque correctly.
5. Crazing
- DIY: Monitor if surface-level only.
- Shop: If cracks deepen or you see soft spots.
A Simple Quarterly Routine
- Safely set up ladder/spotter.
- Rinse off loose dirt and debris.
- Clean gently with membrane-safe cleaner.
- Inspect edges, caps, and penetrations.
- Scan the roof surface for punctures or ponding.
- Fix minor issues with the correct sealant or tape.
- Log what you did (date + notes).
Final Thoughts
Inspecting your RV roof may feel intimidating at first, but it’s just about slowing down and looking closely. With a simple quarterly inspection habit, you’ll stop leaks before they start, save money on repairs, and keep your RV road ready for years to come.